Adventures in Ferrocement, Featuring the Pollinator Project
One of the wonderful aspects of the Pollinator Project was learning a new art medium, ferrocement. Ferrocement is essentially concrete mortar over a metal armature. Using a metal armature and mesh makes the concrete much stronger, allowing shapes and forms that would be impossible with concrete alone. The Pollinator Tree was designed with Avanti High School students as part of the Pollinator Project. During the initial design process, we knew the sculpture needed to be durable enough to withstand the elements, but weren’t sure what materials we would use. Teacher extraordinaire Quasar Surprise was very open to the outcome of the project and willing to let me follow my interests and try something new. We chose ferrocement because it was not only durable, but we could stay very true to the design the students came up with, including sculpting detailed elements into the tree.
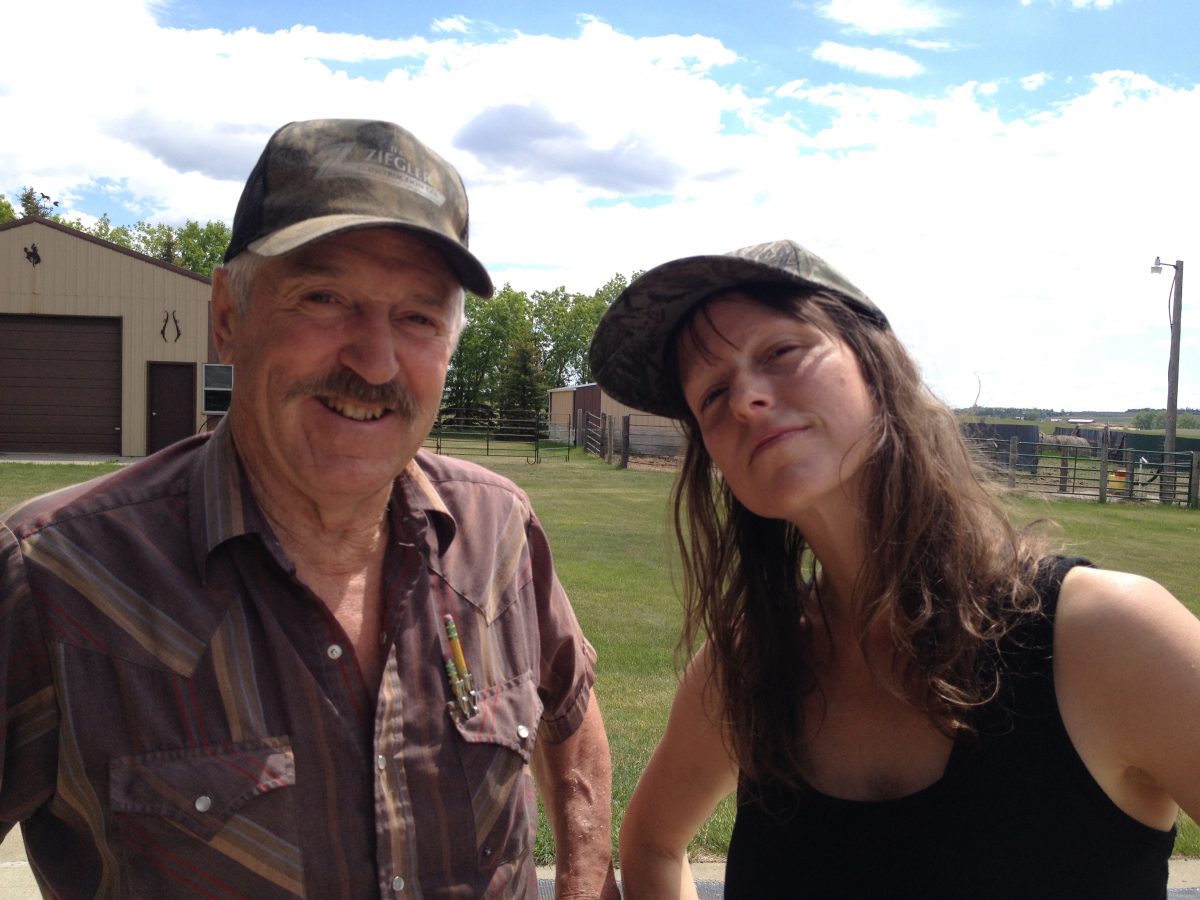
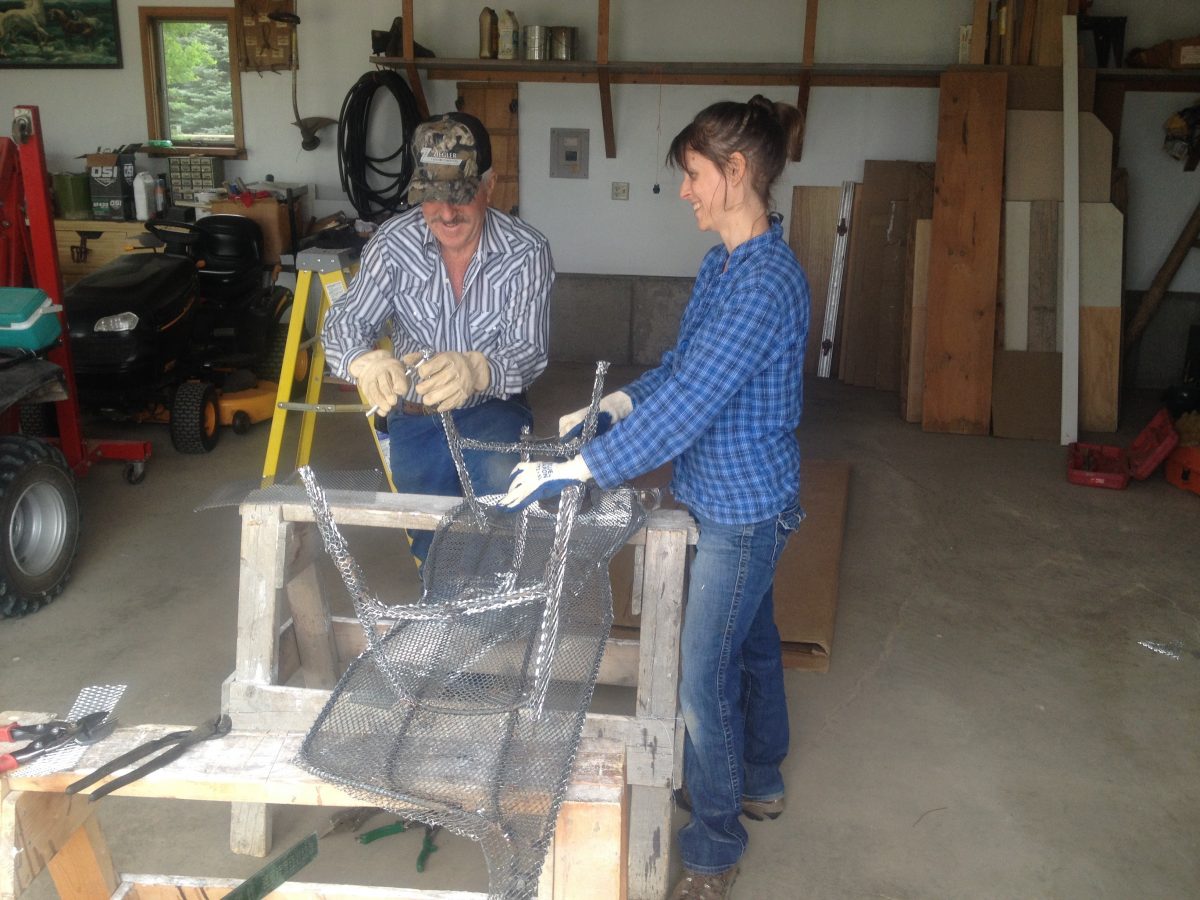
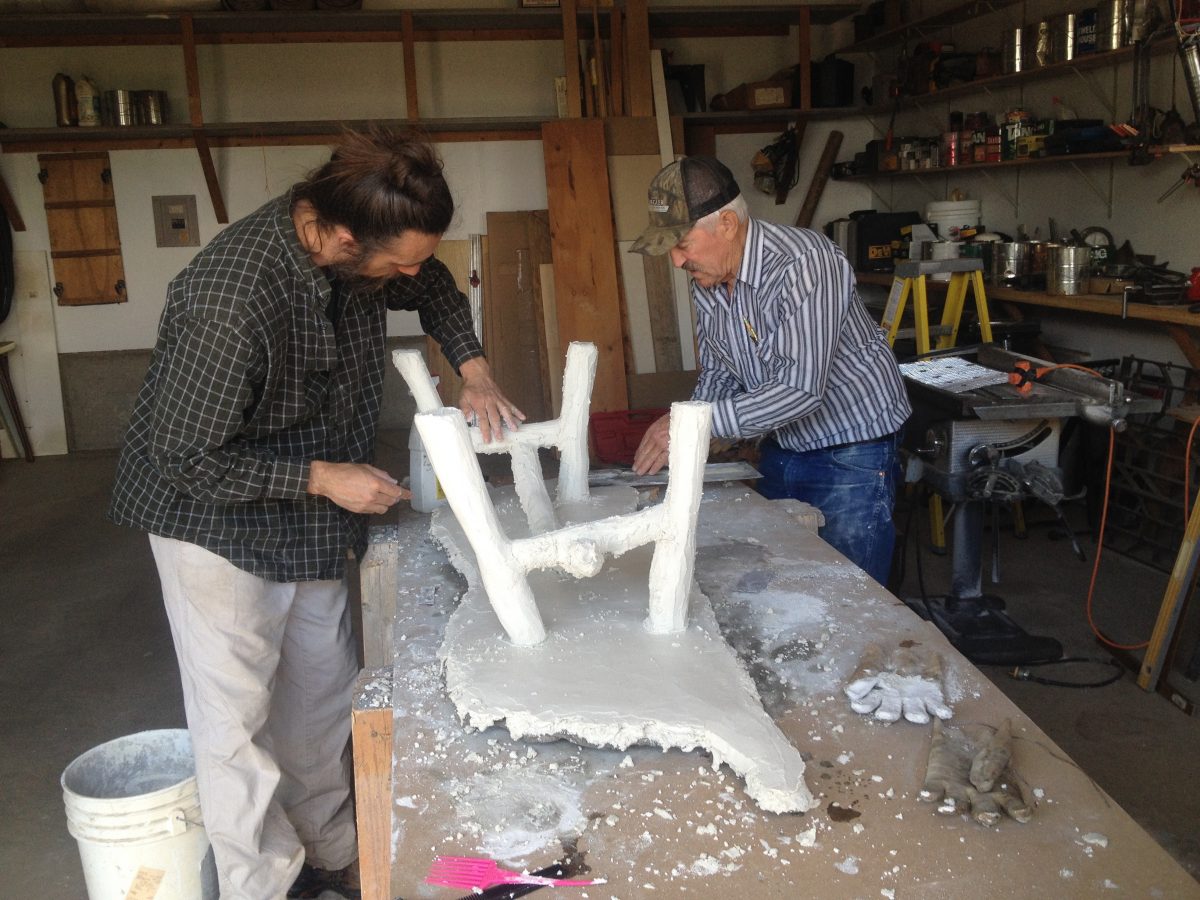
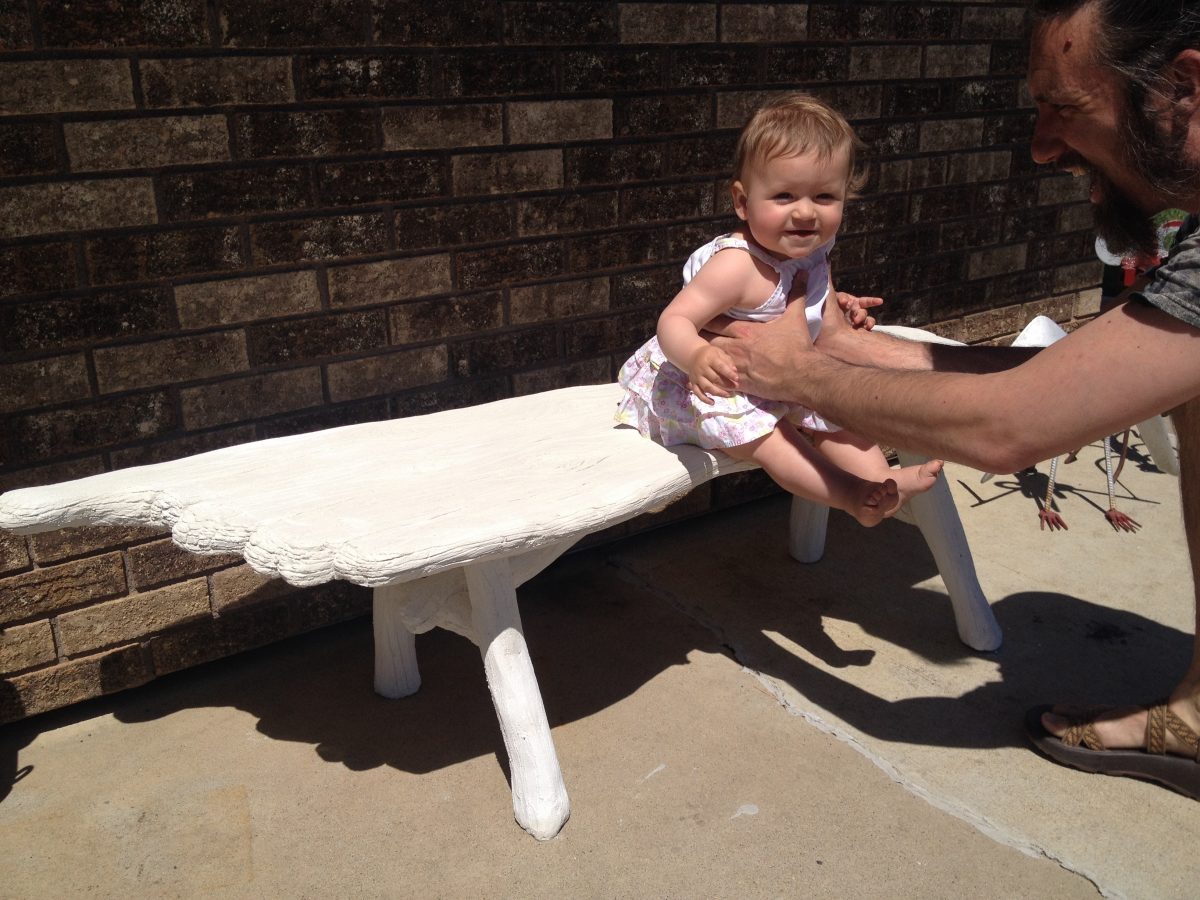
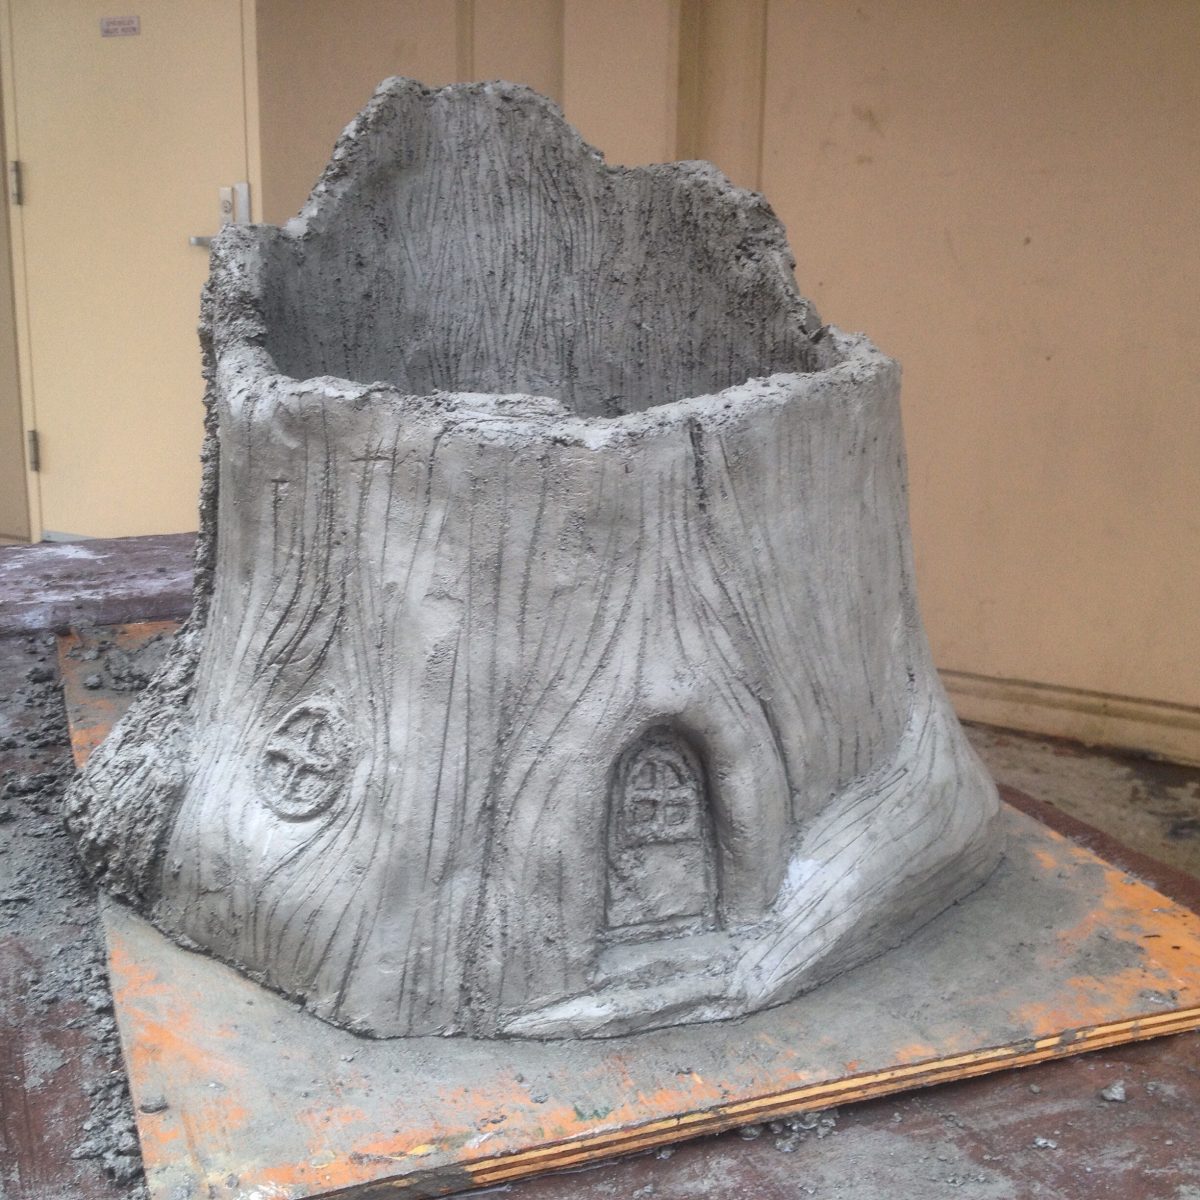
My partner in art, (and most things!) Shon and I did several test projects before we got started on the Pollinator Tree. These included a mini pollinator tree, a faux bois bench we built with my dad, and a hollow stump that I designed and built with students at Avanti. The latter is a planter that is now part of the pollinator garden. It houses a blueberry bush and some fairies.
Ferrocement is a really fun medium, and it takes a lot of work. There are many aspects to the process. Because this sculpture was going to be permanently installed in the school garden, we poured a concrete foundation to build the sculpture off of. First we built the form for the concrete, placed rebar inside of the form, then poured a slab. The plan was to build the sculpture onto the rebar sticking out of the concrete base, making it next to impossible to tip over.
I was really grateful that I had the experience of working with my dad building houses when I was younger. I helped him with him quite a few cement pours, so I had a good idea of what to expect. Even with that earlier experience, it was my first time being in charge of a pour and I was a little nervous. You only get one try and a limited amount of time before the cement sets! I talked to my dad and Shon ahead of time and made sure I new the language of cement and wasn’t missing anything. It all worked out great and now I feel much more confident in leading a pour from a cement truck!
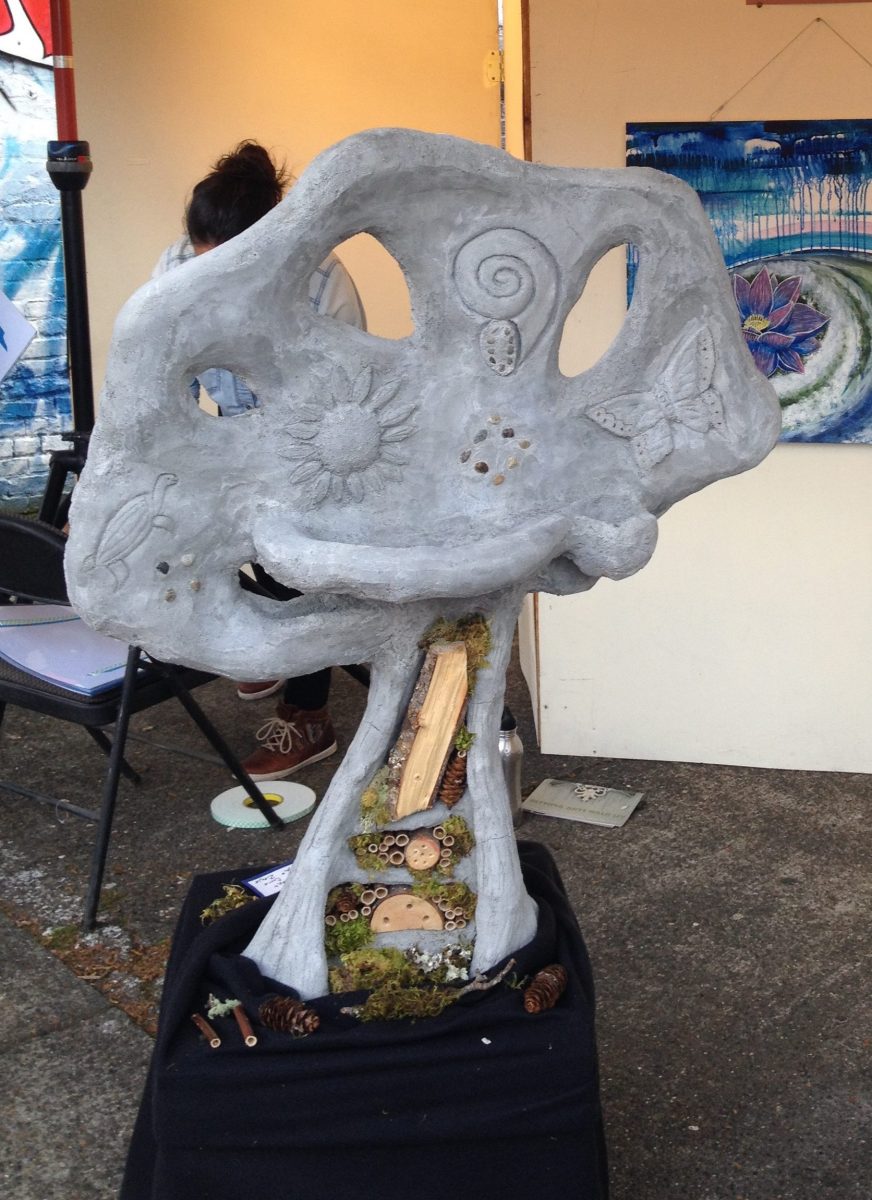
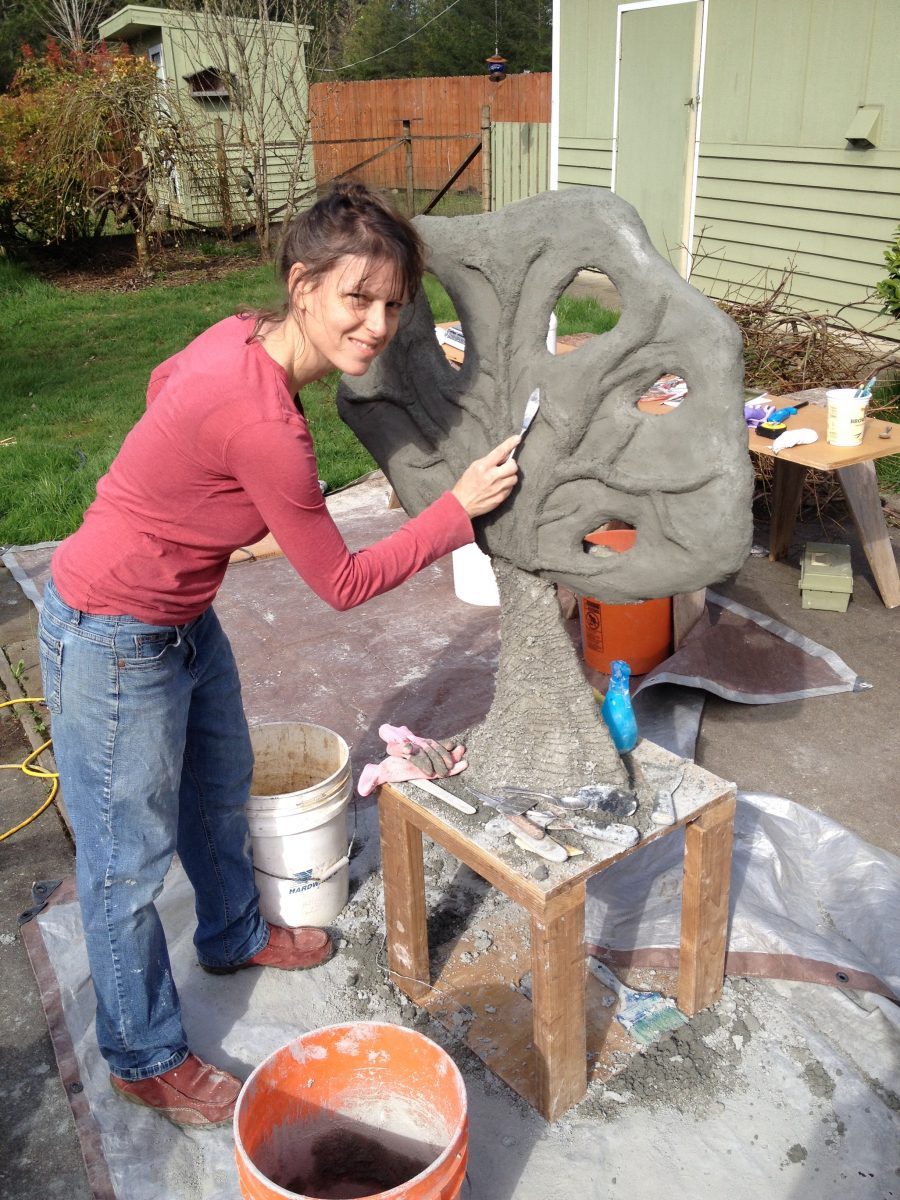
Building a strong and suitable armature is key and is where most of the work takes place. I spent many hours bending and attaching rebar and molding the metal lathe onto the armature. Shon helped when he could, and sometimes baby Seren would come along for the ride. While working on my own, I added quite a few embellishments into the canopy of the tree with loops and spirals and tear drop shapes. Shon thought I was crazy. By making the sculpture more detailed I was adding a lot more work when it came time to sculpt the concrete, and we were on a timeline. But I was inspired and in the creative flow. It did add a lot of work, but it also made the sculpture so much more whimsical and interesting!
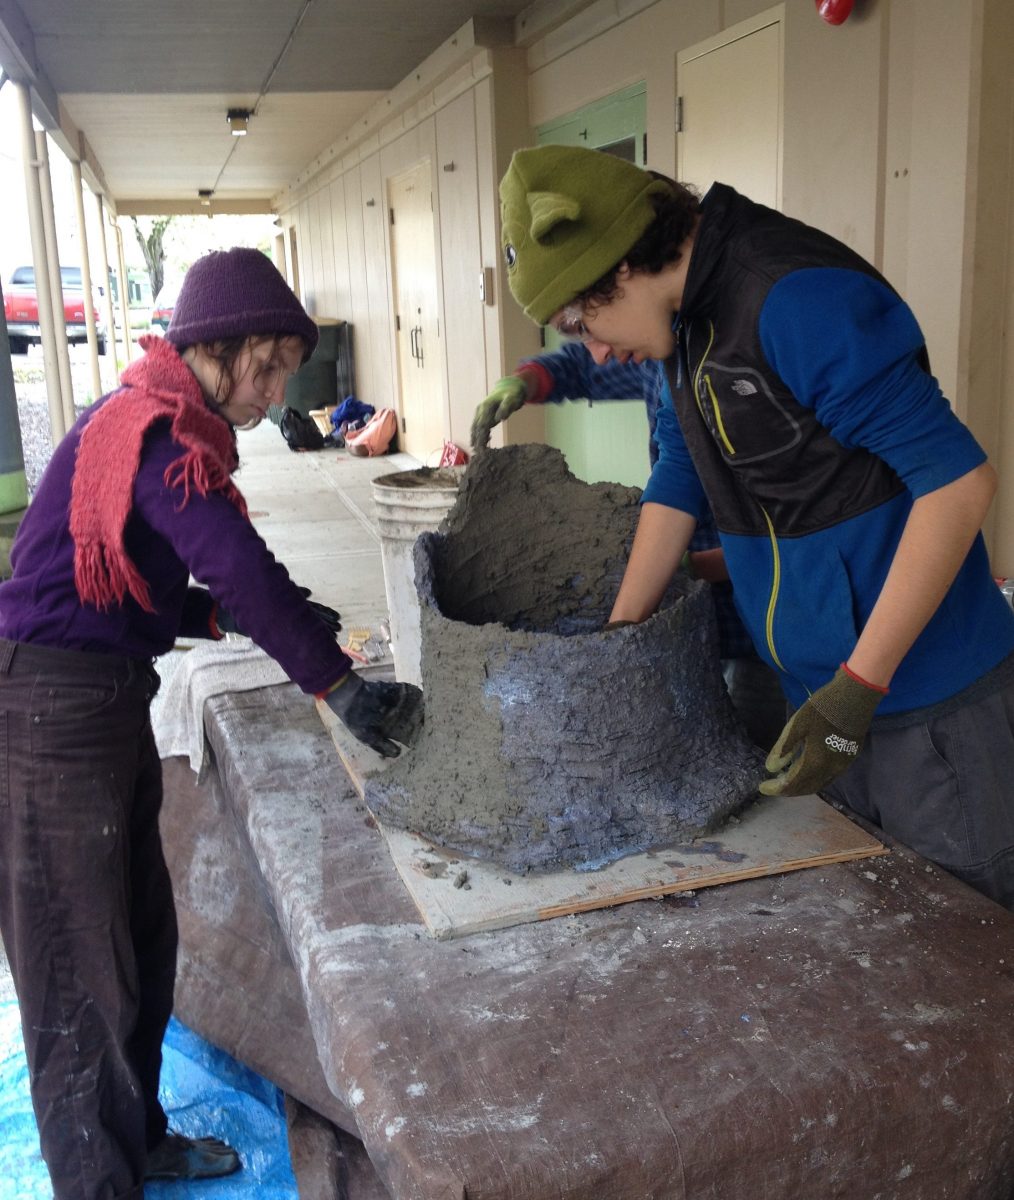
After the armature was finished, it was time to get the concrete ready. I mixed all of the concrete at home, minus the water, from a special recipe of Portland cement, sand and gravel, clay, fibers, and plasticizer. We applied the cement in sections, roughing in the shape with the scratch coat, which has more gravel and fibers in it, then letting it cure for a few days. This coat gives the piece its strength and provides the overall shape and contours of the sculpture.
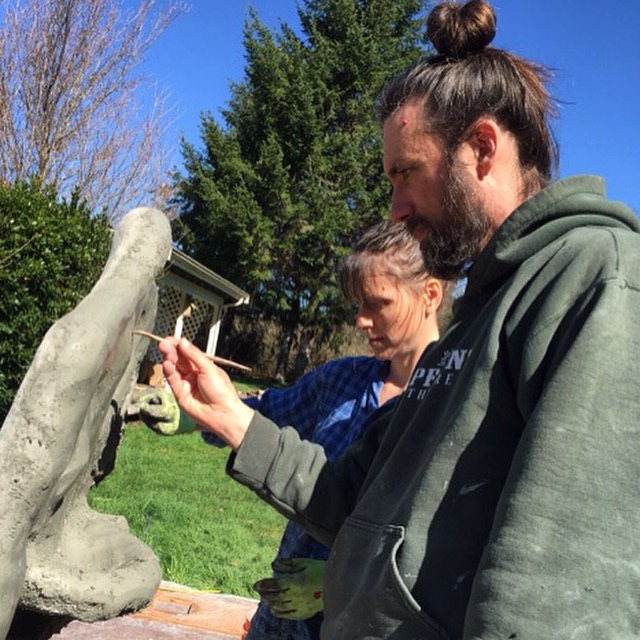
The final layer of concrete is the most important visually. Shon and I both work with clay and we draw from those skills when working with concrete. There is a huge difference between sculpting with clay and sculpting with concrete though. Clay can be sculpted for a while, covered, put away, taken out and sculpted some more. You could work on the same clay sculpture for days or months. Concrete has a VERY limited time for workability. Once you add water, the clock starts ticking. On a hot day, the cement can go from too wet to sculpt to too hard to sculpt in a remarkably short time. You only get one shot at sculpting the piece. That’s why we worked in sections, starting from the top and working our way down to prevent drips on areas we had already finished.
We worked fast and we worked hard. If the cement set too quickly, not only would it prevent us from sculpting it the way we wanted, it could result in cracks and other damage. We spent extra time on a few key areas, working in very small batches, namely the sunflower bee sculpture on the trunk and the polypore mushrooms that provide a rain barrier for the solitary bee habitat.
When we were done applying and sculpting the concrete, we cured it by covering the sculpture with plastic and keeping it wet for a week. Then it was time to color it.
I found some great water-based concrete stains from New Look International. Staff at New Look were incredibly helpful with the entire process, from prepping the concrete with citric acid to sealing the sculpture after we were done staining it. I was impressed with the variety of colors we had to choose from and had a lot of fun mixing and layering them to get unique color effects. I especially enjoyed adding the layers of gold that make the sculpture flash in the sun.
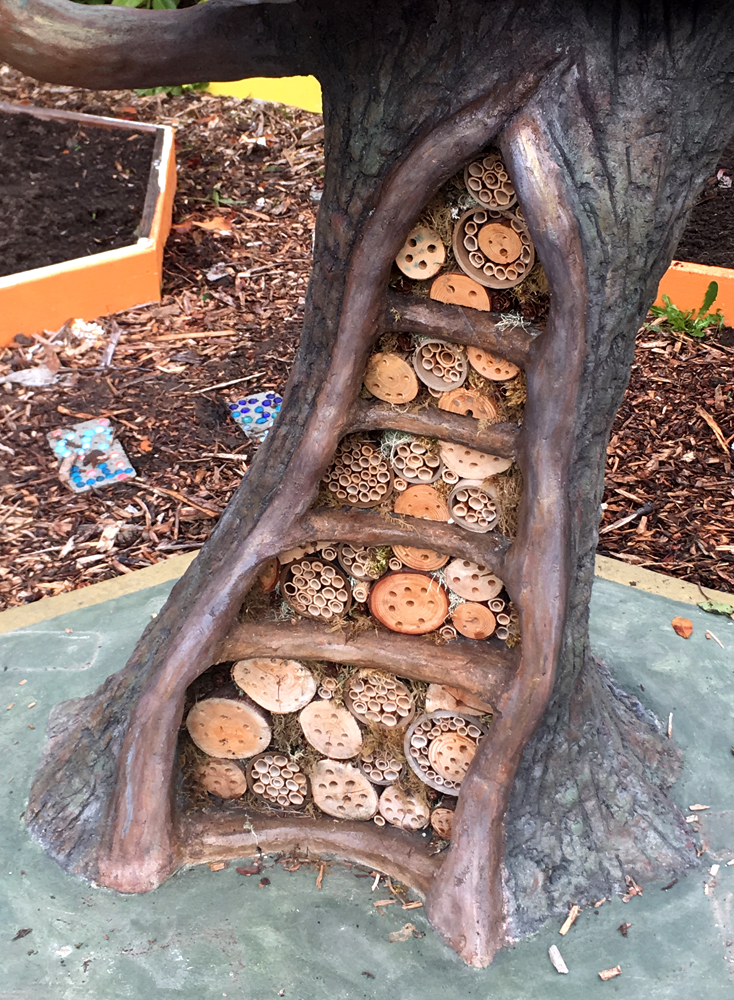
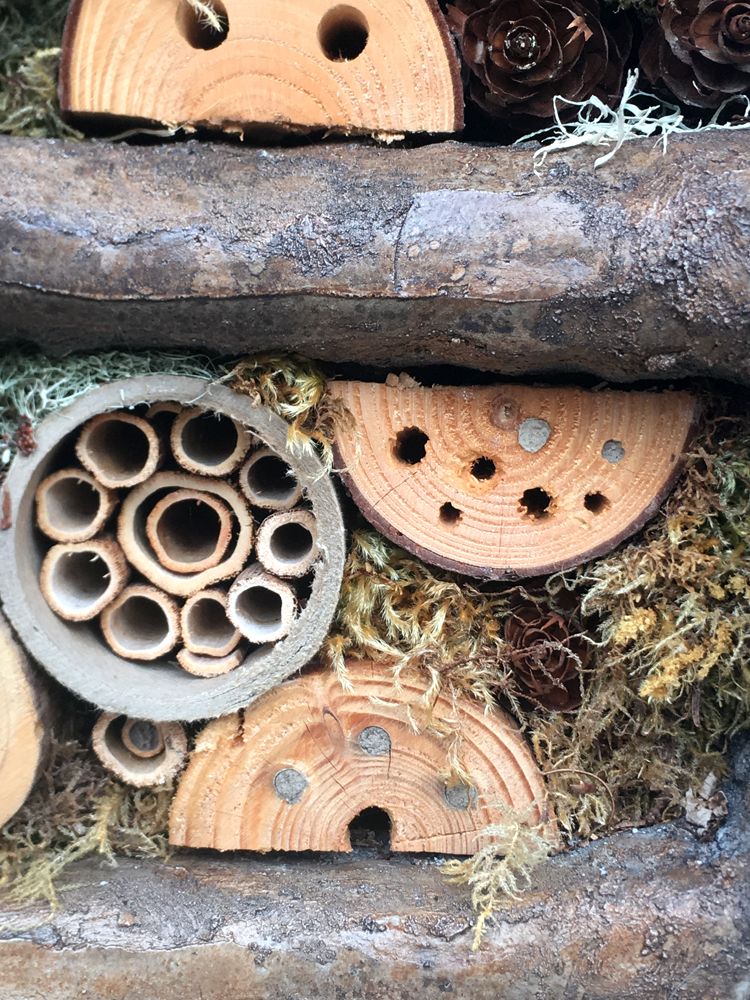
Now for the final touch, the centerpiece of the entire project: placing the solitary bee habitat in the cavities of the tree. Mason bees and leafcutter bees nest in hollow tubes and holes of particular diameters and depths. As part of the work I did with Avanti High School, Quasar and I mentored her students on how to give presentations to Madison elementary students about solitary bees. During the presentations, the elementary students created habitat designs on cut logs. High school students then drilled all of the holes based on those designs. We used these logs, hollow knotweed stems, moss, lichen, and conifer cones to create habitat for the bees and other beneficial insects. Just a few weeks after the sculpture was finished, mason bees had already laid eggs in some of the logs!
We received great feedback about the sculpture from staff, students, and community members. Quasar is now using the Pollinator Garden as an outdoor classroom and her students are monitoring bee activity in the sculpture. The Pollinator Extravaganza! was such a success, that it might become an annual event. Creating this sculpture was the cream on top of an incredible collaboration with Quasar and the students at Avanti High and Madson Elementary Schools. It was an extraordinary learning opportunity and I can't wait to build on what we learned during our next ferrocement project!

If you’d like to learn more about mason and other solitary bees, visit the Olympia Pollinator Group’s website Bees, Birds and Butterflies. The folks who put this blog together are AMAZING! and host a monthly pollinator study group that is open to everyone.